Author Archives: Stephan Lang

Starting a rudimentary HTML template and code minifier for Arduino IDE and ESP8266

For a current project, which might find its way here when finished, I’m using the esp8266 and the Arduino IDE. Thats not a huge thing these days and you can find many Tutorials about it online.

So after some playing around, my esp8266 is running a webserver and serving a site and a button on the site is toggling the LED.

Having some web dev background, the HTML part was not much of a problem, but the way the HTML, CSS and JS has to be embedded into the C code as Strings got me frustrated pretty fast. It’s just really inconvenient to work with.

So I’ve set out to get this done the easy way, my goal is expand the Arduino IDEs build chain to process .html, .css and .js files from the project directory, minify them and convert each file to a variable within the source code file before it starts compiling.

Pert from the Arduino Forum has pointed me to hooks one can use to add steps to the build process, and first test have encouraged me to continue on this trek.

I will now setup me dev environment, to have this on git from the start and write another post as soon as I’ve made some progress…

Stephan
Disable Browser auto complete on TimeUnits input box

Using the here described method, you can add a few simple lines of Java Script to disable the Browser auto complete function on the time units input box.

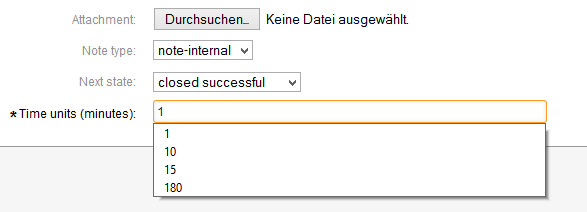
The problem is, when you are required to fill in the time spent on a ticket, the auto complete dropdown will conceal the submit button and you have to click somewhere else before you can submit your response:

TimeUnits

Or you could accidentally select a wrong time by trying to click submit while the dropdown is still up.

When you follow my guide to register your own Java Script file in OTRS you can simply add the following code to disable auto complete on the time units input:

$( document ).ready(function() {
    if ( $('#TimeUnits').length )
    {
        $('#TimeUnits').autocomplete({ disabled: true });
    }
});

If you’d prefer to keep the auto complete but still want the Submit button clickable you could shrink the time units input box by removing the W50pc class from it.

$( document ).ready(function() {
    if ( $('#TimeUnits').length )
    {
        $('#TimeUnits').removeClass('W50pc');
    }
});

Enjoy our OTRS

Stephan

Storing CustomerUser data in dynamic fields

As described in the OTRS documentation it is possible to take customer information, for example from an LDAP Backend, to a dynamic field when a ticket is created or the customer is changed. This could later be used for reporting and would preserve the value from the time of ticket creation, even when it is changed in the LDAP backend.

Unfortunately the documentation is not that detailed, especially if you new to OTRS. So here is a little more information on how to do this.

Continue reading

Running javascript on any OTRS Agent or Customer site

Customizing your OTRS setup with javascript is pretty easy. All you need is two files and a new folder. No need to create your own theme.

Before you go on, please do not try this on a production system, use a test system.
If you don’t have one, build one or use the OTRS Appliance.

I am using OTRS 3.3 any other version might differ from what I’m doing, so please use caution.

Continue reading

Create a VMware Workstation virtual machine for OTRS on CentOS

First things first:

We will later need the CentOS install ISO, depending on you internet connection it could be a good idea to start the download now.

My Demo uses this (64-Bit) image:
http://vault.centos.org/6.5/isos/x86_64/CentOS-6.5-x86_64-minimal.iso

You could also use the latest CentOS 6 minimal iso from one of the mirrors on http://isoredirect.centos.org/centos/6/isos/x86_64/

But be aware that setup could differ when using an other iso.


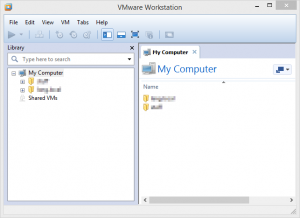
Open up VMware Workstation

VMwareWorkstation
Go to File -> New virtual Machine…

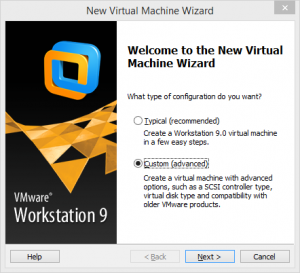
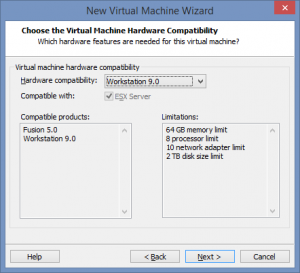
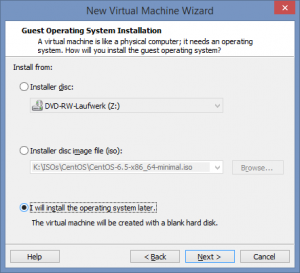
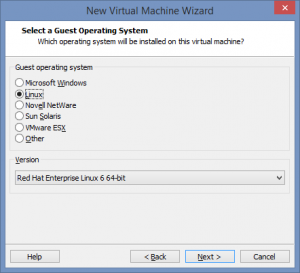
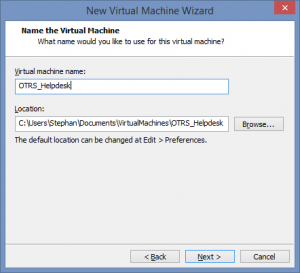
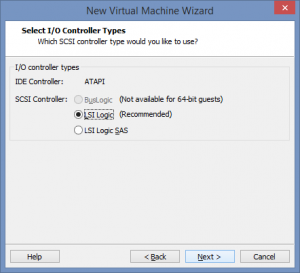
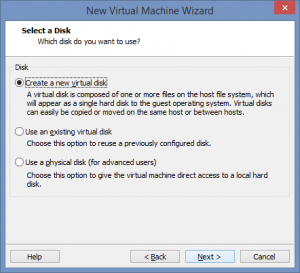
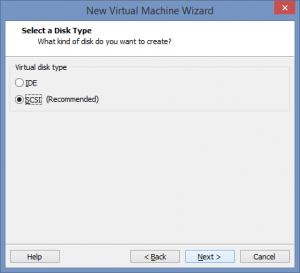
A Wizard to create the virtual machine will start, I will post all screens of the wizard with my setting but mostly without comment.

NewVirtualMachineWizard_1
Select Custom and click Next

NewVirtualMachineWizard_2

NewVirtualMachineWizard_3
I don’t want VMware Workstation to mess with my setup…

NewVirtualMachineWizard_4

NewVirtualMachineWizard_5

NewVirtualMachineWizard_6
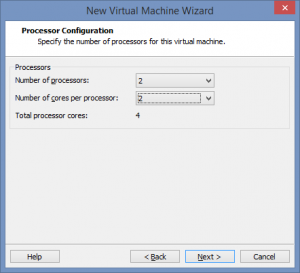
I’ll give the VM 2 CPUs with 2 Cores each but not really necessaryuse what you can spare to speed up the installation a bit

NewVirtualMachineWizard_7
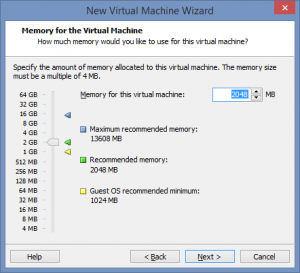
Ram is not so important either, 512MB would do
use what you can spare to speed up the installation a bit

NewVirtualMachineWizard_8
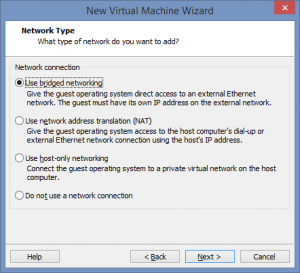
Use bridged networking to get the VM a own IP to call the web interface later
We will need Internet access as well

NewVirtualMachineWizard_9

NewVirtualMachineWizard_10

NewVirtualMachineWizard_11

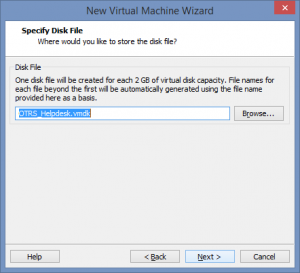
NewVirtualMachineWizard_12
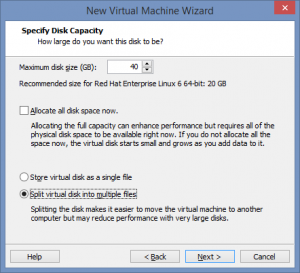
Be generous with disk size, it will be thin provisioned

NewVirtualMachineWizard_13

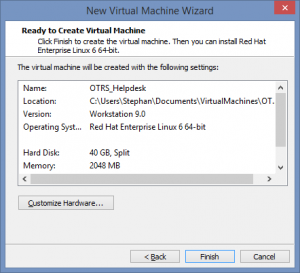
NewVirtualMachineWizard_14

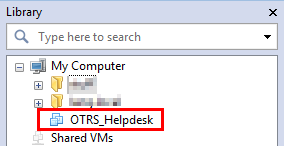
Now you have a new VM:

VMwareWorkstationLibrary
right click and go to Settings…

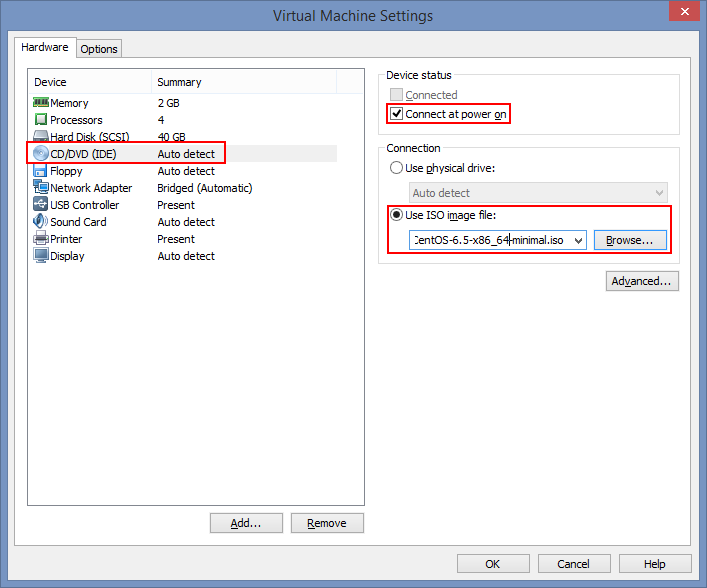
VirtualMachineSettings_iso
Make sure that Connect at power on is checked and Browse to select your CentOS iso

Your VM is now ready for the CentOS setup.

Stay tuned for my next post when we will do just that.

Only a year later…

Thanks to the automatic update feature of this wordpress site I had an constant reminder over the last year that I really should start and write my first real post.

So to get forward with my blog, I have just added the About Me site, and am now really writing a Post.

Unfortunately it has nothing to do with OTRS or Open Source or IT, so it will not count for the first real post, but be patient it’s coming this way…

Hello Blog!

This is a reboot.

I’ve started my first Blog sometime in 2005, I’ve just checked and one of the few posts was about Vista Beta 2.

That was some time ago.

The reason for this reboot is simple, I’ve started working on some code for OTRS and in the spirit of open source, I’d like to share my experience here.

Stephan